Moodle allows you to add a variety of files and activities to course sections. To add an activity or resource to your course you must turn editing on. This tutorial will show you how to add a file such as a PowerPoint, .pdf or Word documents, and will instruct you on how to get started on creating activities.
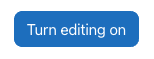
Click Turn Editing On located on the top right corner of the screen.
You are able to add activities and/or resources under each section of your course. Once you have editing turned on, you can click Add Activity or Resource under the section you wish to add an activity or resource to.

NOTE: An activity is anything you want your students to do online, such as quizzes, assignments, forums, etc. A resource is anything you want your students to see online, such as a course syllabus, PowerPoint presentations, and reading materials such as .pdfs, etc.
ADDING RESOURCES
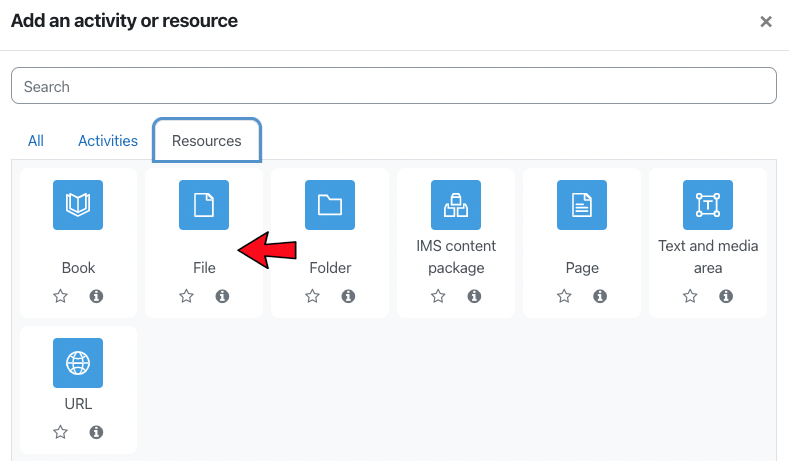
To add a resource, click Add an Activity or Resource then scroll down the list of options and choose which resource you would like to add from the resource menu. For this tutorial we will choose to add a file.
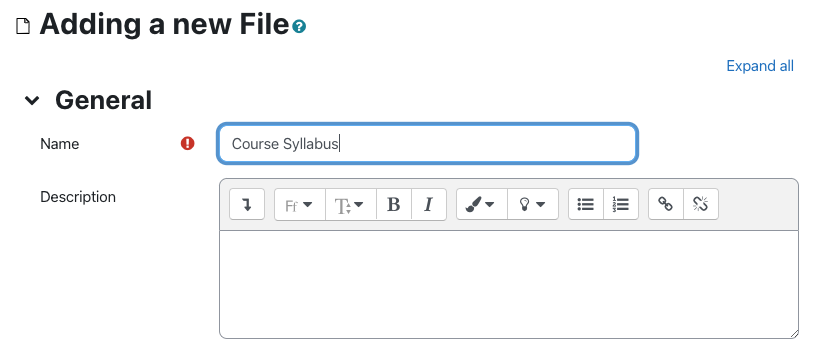
The Adding a New File window will become visible to you. Give your file a name by typing in a title in the name field.
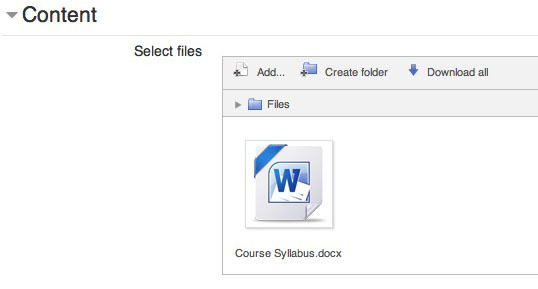
To add the file, either click and drag the file into the content area, or click on the paper icon at the top left to browse for the file.
![]()
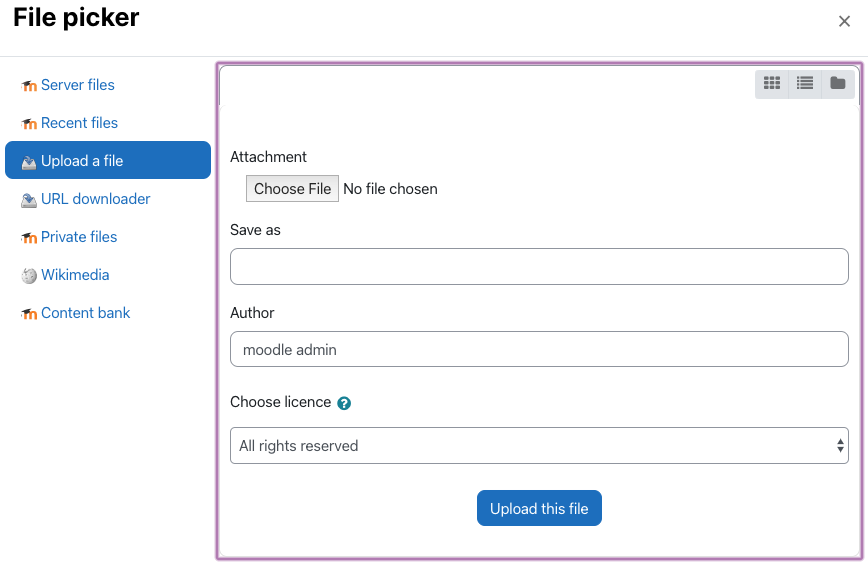
If you click on the paper icon, you will be taken to the file picker. Choose Upload a File, then click on Choose File. You may choose the file from various areas, including your desktop on your computer. Find the file you wish to add to your course. Click Upload this File.
You will see the file you've selected in the Content area.
IMPORTANT: When you upload a file, make sure it has a proper extension associated with it. The extension is the dot or period followed by three or four letters behind your file name. For example, in syllabus.docx, .docx is the file extension. Many computers will recognize the file without the extension, but this file is being uploaded to a server where extensions are important to recognizing what type of file it is. If you choose to rename your file in the save as field, then be sure to add the proper extension to the file name to ensure your students can read and download the file as needed. Also, make sure to only have a period "." before the file extension, if you have a period within the title, Moodle will try to read it as the extension and the file will not work.
Example:
Correct: course_syllabus2023.pdf
Incorrect: Course.syllabus.2023.pdf
You now have the option of choosing your display settings if you do not want to use the default settings.
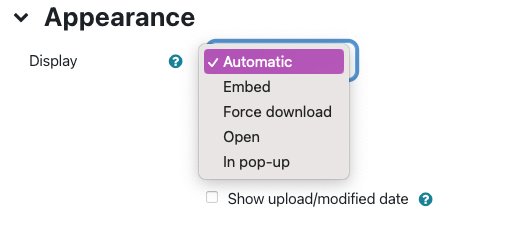
This area allows you to display your file automatically, within a popup window, and allows you to embed files. The default is set to automatic, and is a safe default if you are unsure what to do.
NOTE ABOUT .PDF FILES: If students are accessing .PDF files in your course with an iPad, please set the display option to Open rather than Automatic. This setting will be safe for those accessing Moodle from a laptop or desktop as well. PDF is a common format and in the majority of cases students will be able to open the document using Adobe Reader.
Once you have the file selected and your settings in place, choose Save and Return to Course.
![]()
You will have now successfully added a file to your course, and choosing to 'save and return' will allow you to see where and how your file was added.
ADDING ACTIVITIES
Adding activities works much the same way as adding resources.
Once editing is turned on, choose Add an Activity or Resource.
Choose the type of activity you would like to add to your course, such as an Assignment.

You will be taken to a context sensitive options page in which you set the options and attributes for that particular activity.
Look for tutorials on specific activities to learn more about the options for each activity.